Gel-X manicures give you extensions superior to acrylic or hard nail extensions. These new and popular extensions go on fast and easy, and they do less damage to your nails.
Gel-X nail extensions are made from soft gel, the same material as gel nail polish. However, they are formulated so that they're able to hold a shape and thereby look and function like extensions.
Soft gel offers many benefits. First of all, it is fast and easy to apply. The entire procedure takes just ten to fifteen minutes. The nails last for over three weeks, and they soak off in only fifteen minutes. Nails that soak off do little to no damage to your natural nails. That's great for everyone, and it is especially valuable for ladies with weak nails or those who like to change their nails often.
What To Expect
When you get your first Gel-X manicure, your nail technician will size your tips. That means she'll find the correctly sized extensions for each of your fingers on both hands. She may need to file some of the tips to achieve the perfect fit. This is key to their ultimate look.
Your manicurist will have a complete kit of equipment to use during the Gel-X manicure. You can also buy this kit yourself, but self-application comes with challenges. We do recommend using a professional for this type of manicure.
READ MORE: Rainbow Nails Are Trending, And It's Perfect For Spring
Equipment
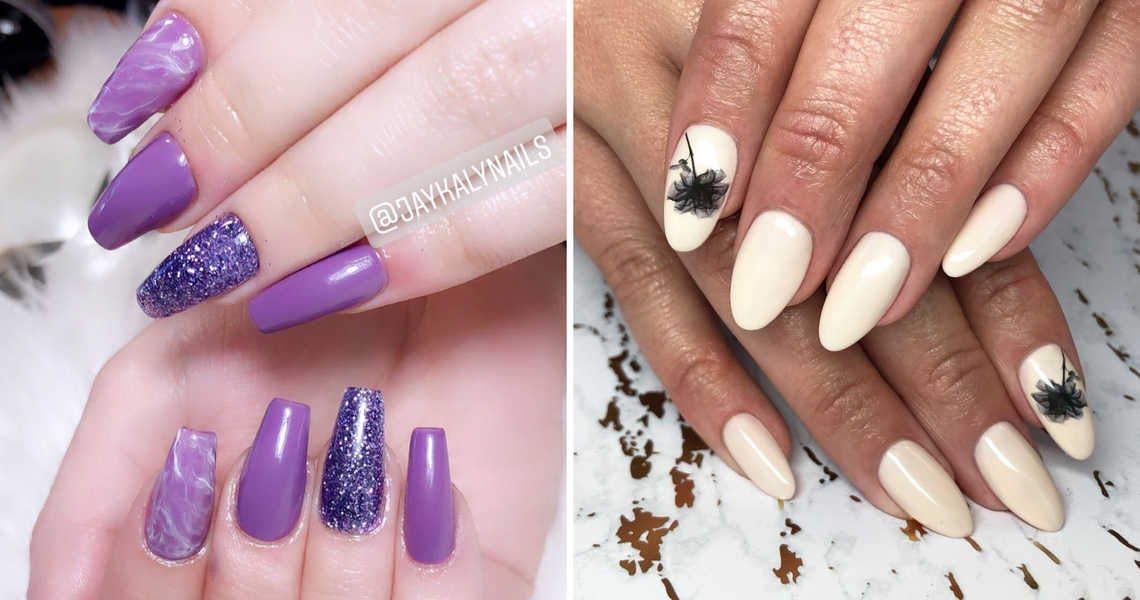
- tips of varying sizes and shapes (coffin and stiletto are popular shapes)
- flat brush for applying gel
- Ph bonder to dehydrate the nails before applying the tips
- Non-acid primer
- Gel top coat
- LED lamp
- UV lamp
- extend gel soak off soft gel
Preparation
The technician will thoroughly cleanse your hands and nails. This is a vital step as dirt and oil are detrimental to your manicure
She will then apply the Ph bonder. The purpose of the Ph bonder is to dehydrate the nails so that absolutely no oil or moisture remains. If this step isn't completed, you risk bacteria growing and breeding under your nails, often showing up as a green tinge. It's not pretty!
After ensuring that your nails are clean and perfectly dry, she will apply a thin coat of primer and allow it to air dry. Next, she will use the flat brush to apply a thin coat of gel onto your nails. Minimal application is key here, to avoid gel protruding out from under the tips later on, and to ensure a smooth application.
After applying the primer and the gel, she will cure the nails with a LED light and a UV lamp, respectively.
RELATED: Baddie Winkle Just Dropped A New Beauty Collection At Sephora
Applying the Extensions
Next, it's time to apply your tips. Your nail tech will have already sized and filed the tips to fit your nails. She will lightly rough the inside of each tip using a sanding board if she has not done this yet.
The following steps take skill and precision. She'll apply just the right amount of gel on the inside of each tip. This needs to be enough to easily affix the tip onto your nail and avoid problems with air bubbles. But it cannot be so much that the gel could get onto your skin. Likewise, the gel needs to be applied onto the tip so that it will cover each of your natural nails completely, but no higher.
When she's gotten the gel perfectly set up, she will apply the tip and use pressure to push out any air bubbles trapped inside. Accuracy in this step can make or break your manicure.
After applying the extensions, your technician will cure them under a UV lamp for two minutes.
Decorate and Polish
When your nail extensions have been applied and cured, it's time for the fun part! Gel-X nails will be painted with gel polish. They can be painted any color, and decorated with most nail decoration products that comply with gel manicures!
Removal
Gel-X manicures will last three weeks or longer. When they begin to chip or fall off, it's time to soak them in acetone to safely remove them. You can also remove them at any time you wish, using the same procedure.
PREVIOUSLY: 'Fish Nails' Is A Trend We Never Saw Coming